Beer Cheese Bread
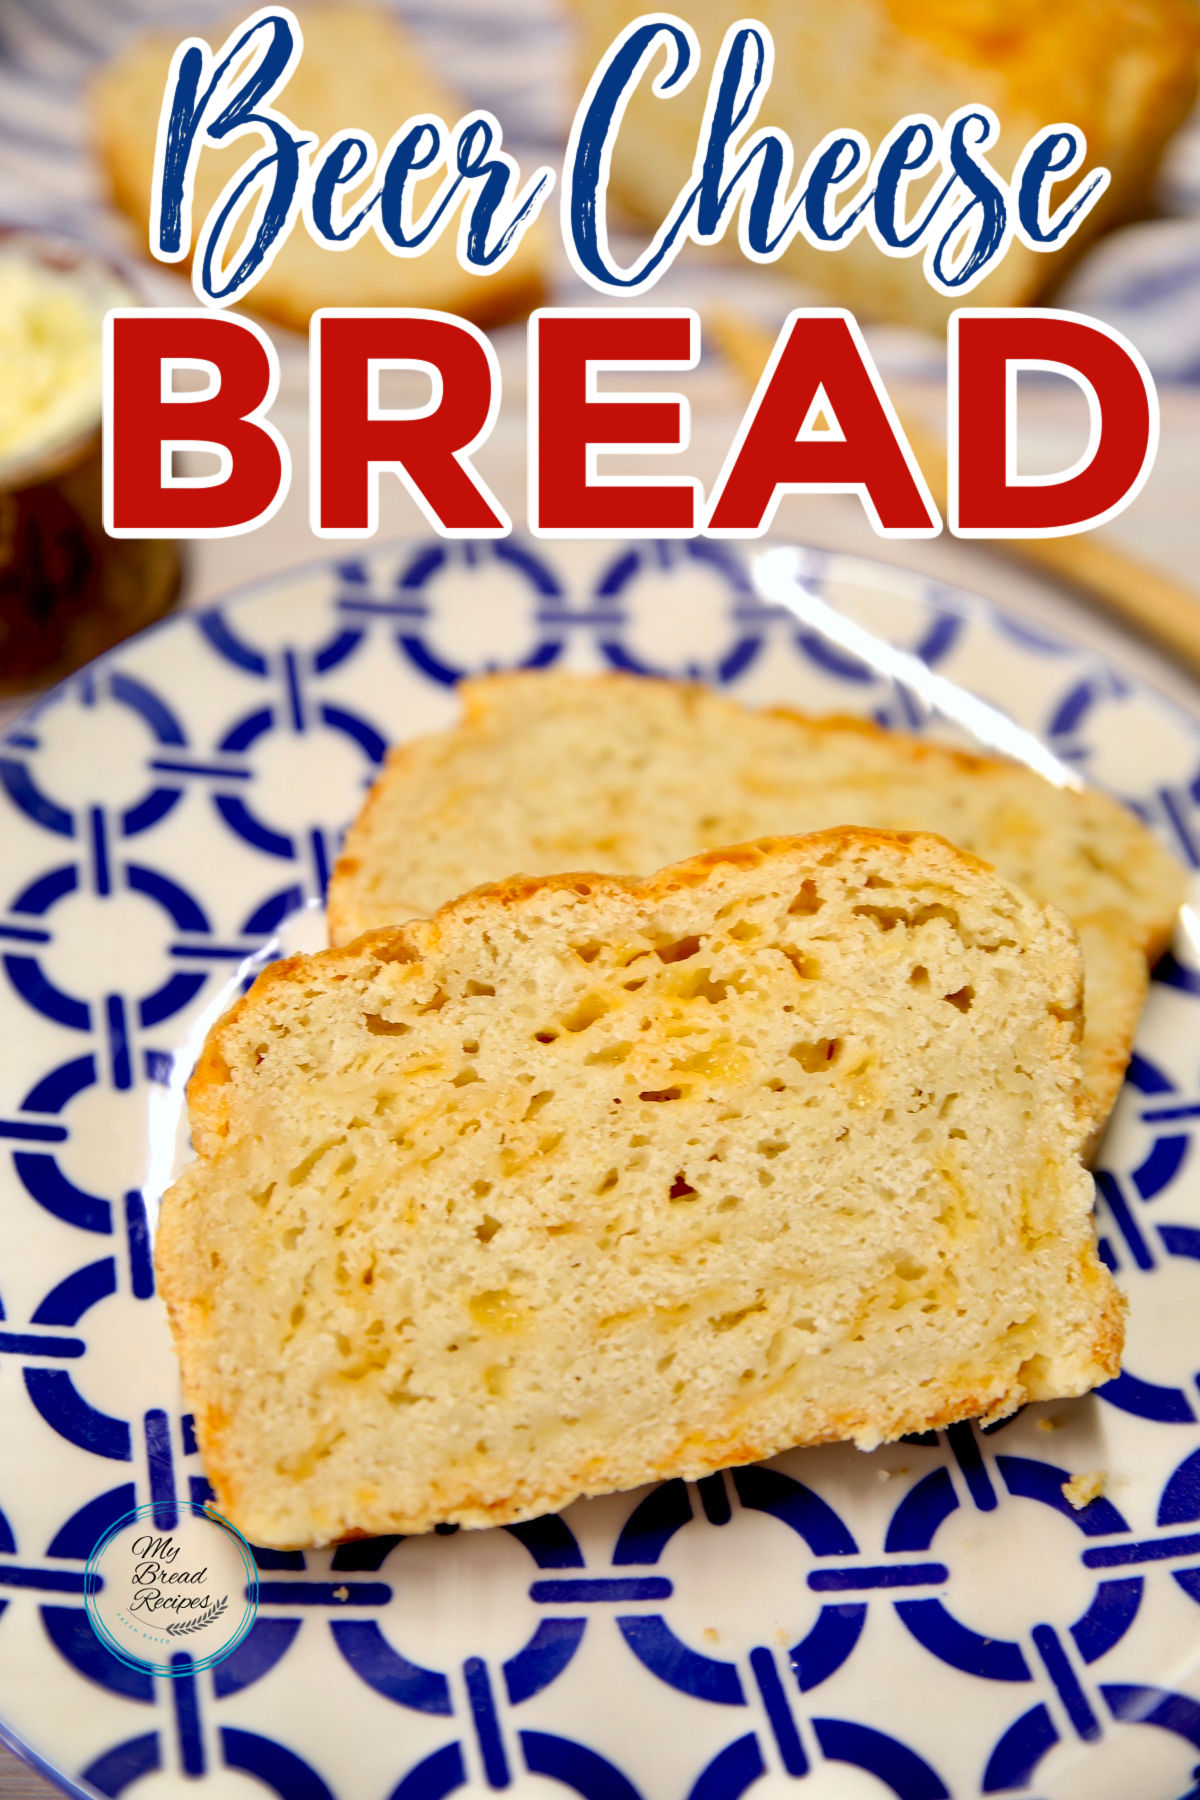
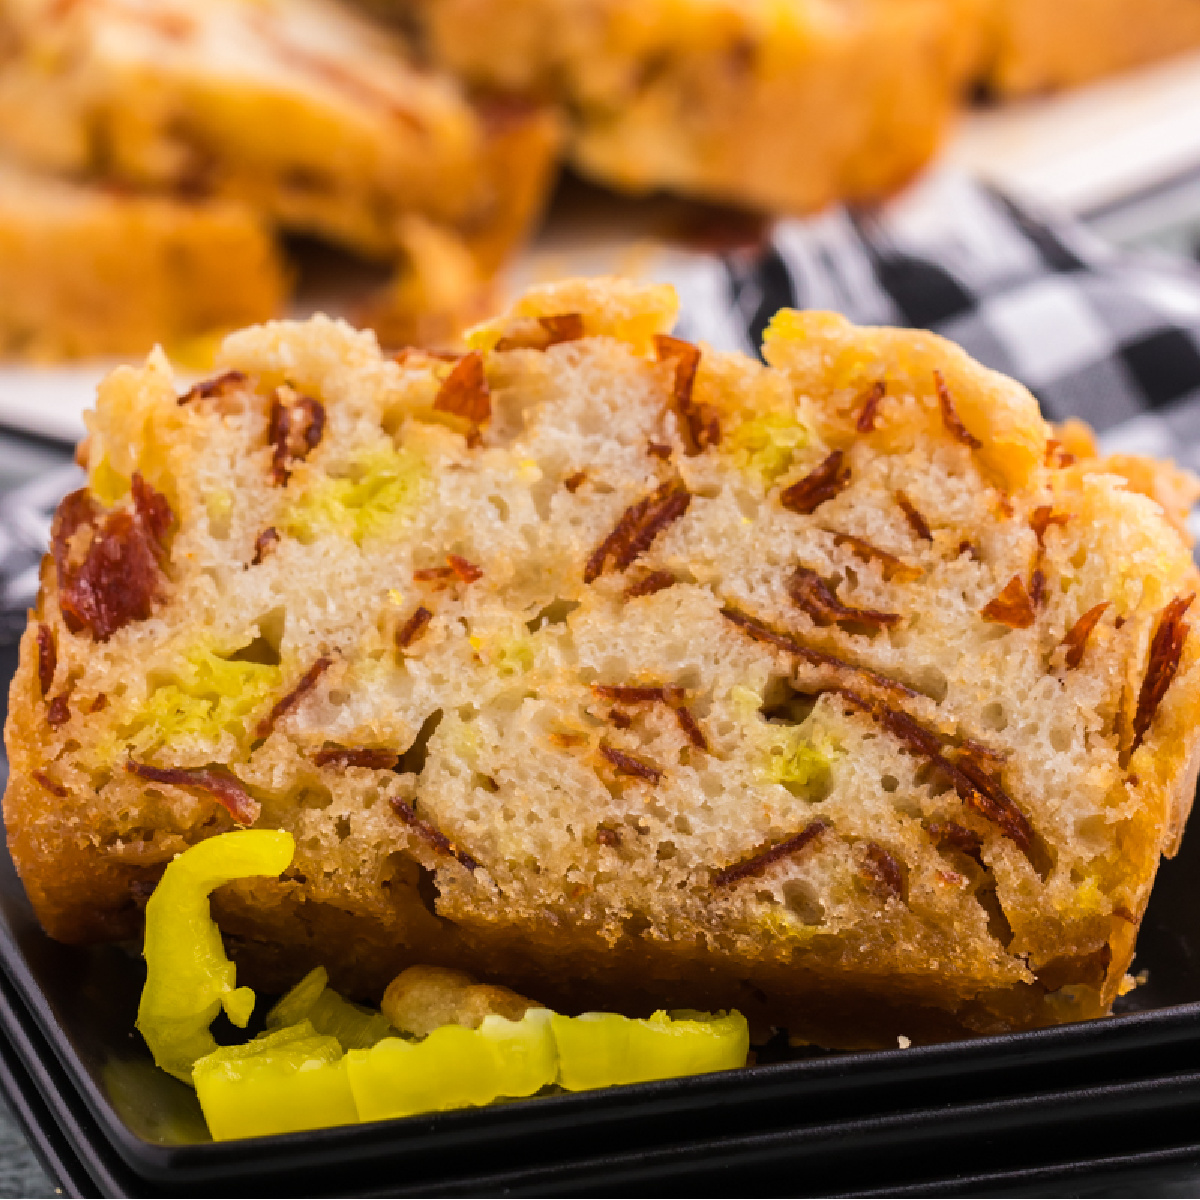
Beer Cheese Bread is a tasty quick bread with a buttery crumb and plenty of cheesy flavor. No mixer or yeast required for this super easy recipe!

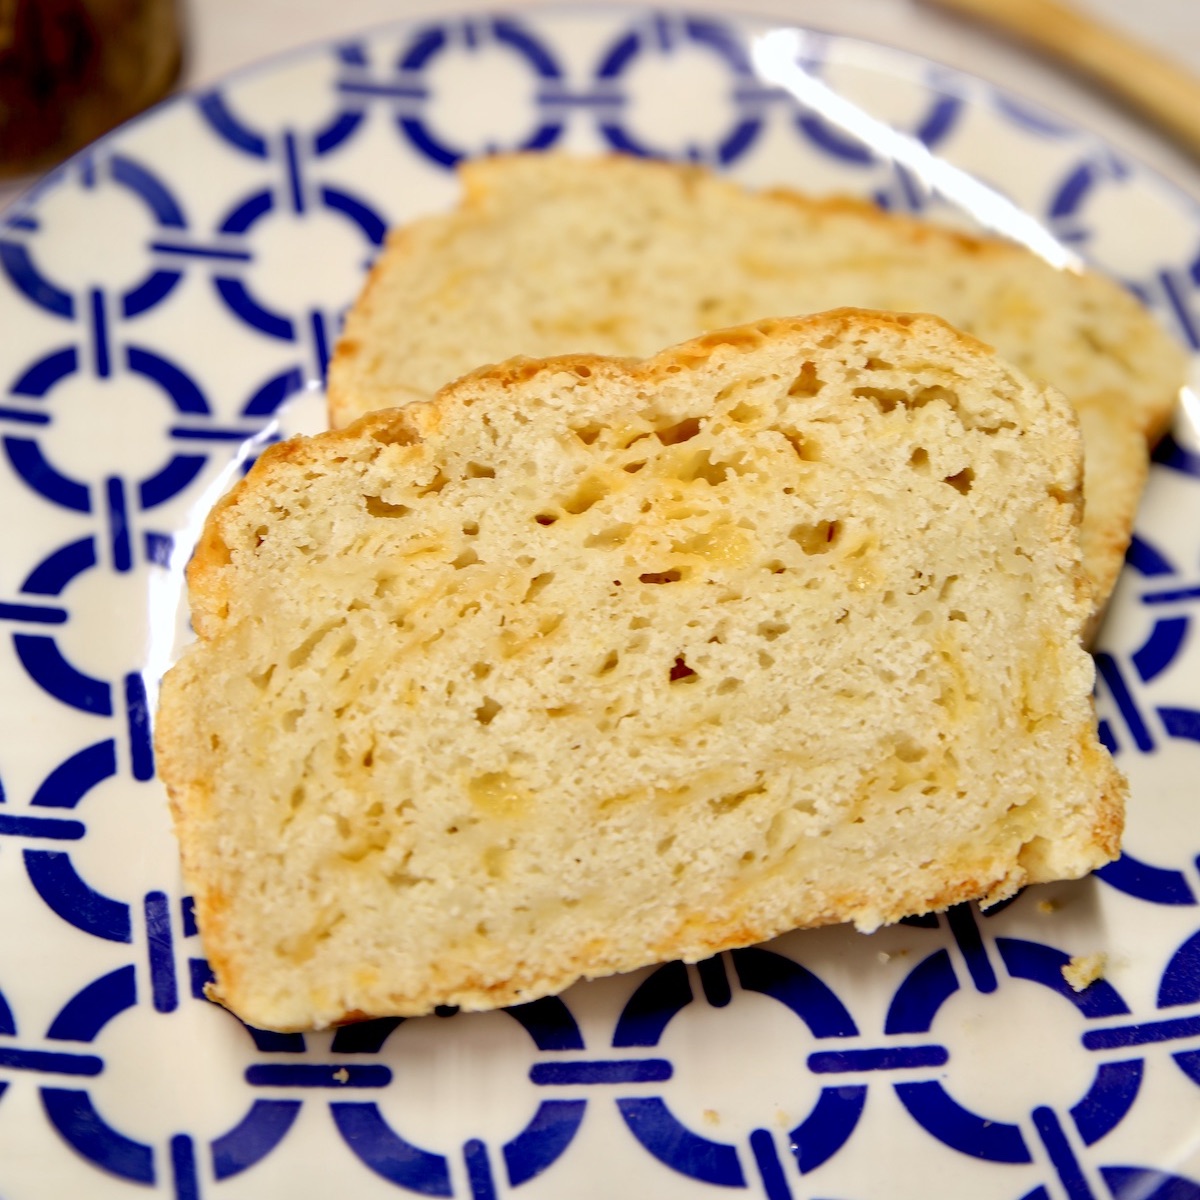
Cheesy beer bread is a great addition to just about any meal. It makes a great snack, amazing toast and is one of our favorites to serve up with homemade soup.
Why Should You Bake Beer Cheese Bread?
- This beer bread is super simple to make.
- Delicious garlic and cheese flavor that compliments just about any meal.
- No rising time so this is a tasty quick bread that can be ready to eat in a little over an hour.

Ingredients For Beer Bread
- All Purpose Flour
- Sugar
- Granulated Garlic
- Baking Powder
- Kosher Salt
- Shredded Cheese
- Butter
- Light Beer
Step By Step Directions for Cheesy Beer Bread

- Add flour, sugar, garlic, baking powder, salt and shredded cheese to a large bowl.
- Stir together with a wooden spoon.
- Melt the butter and pour into the flour mixture.
- Add one can of light beer.
- Stir just until incorporated.

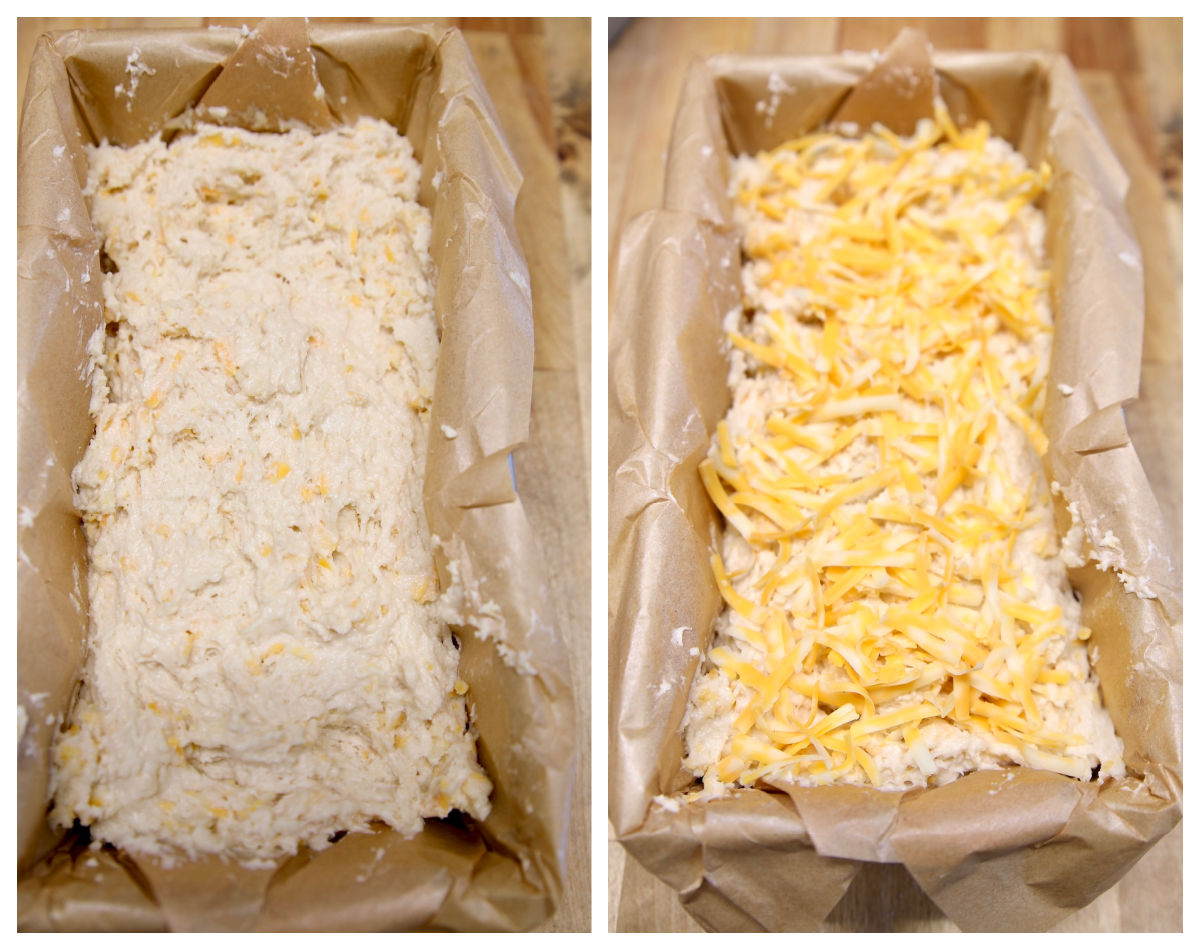
- Line a 9 x 5 bread pan with parchment paper or grease with oil or butter.
- Spoon batter into the pan and spread evenly.
- Top with more shredded cheese.

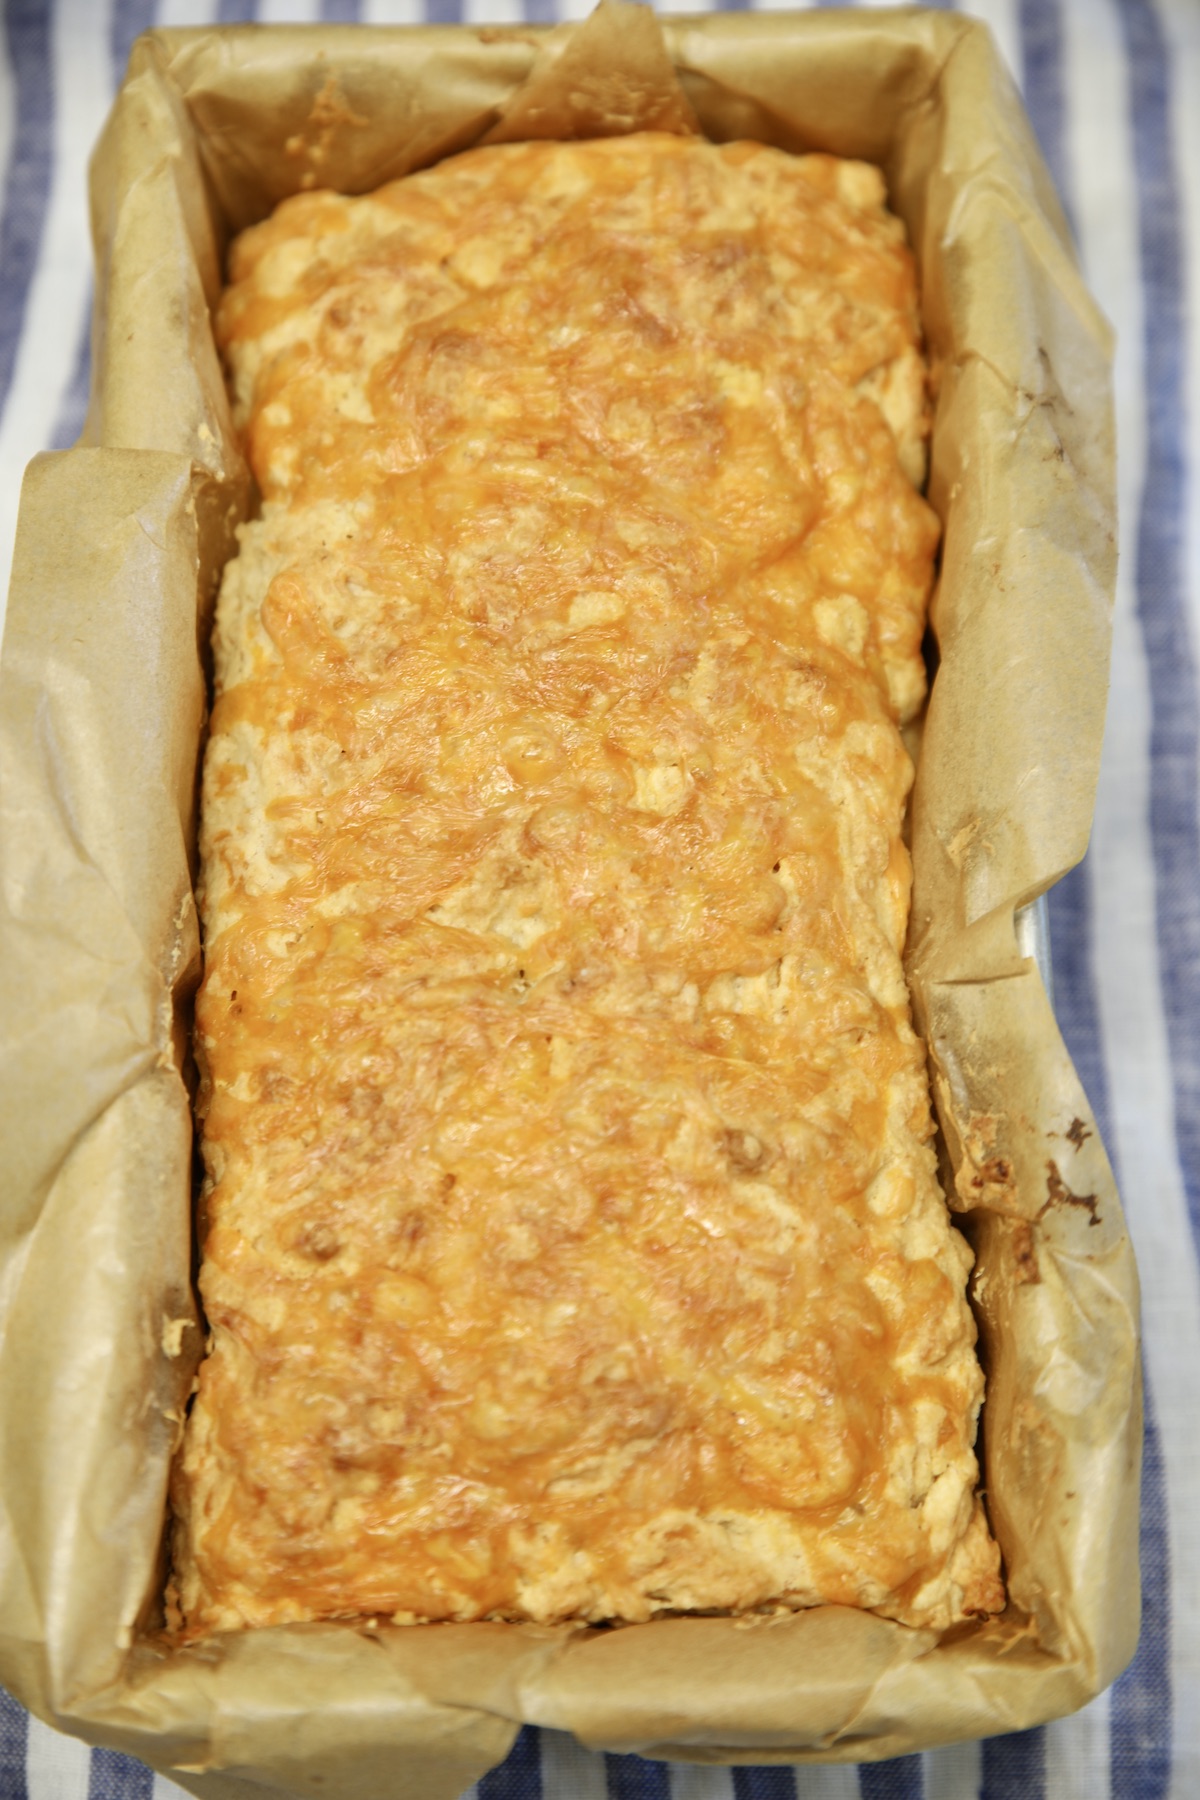
- Bake for 45 – 55 minutes or until internal temperature reaches 200° or when a toothpick inserted into the center comes out clean.
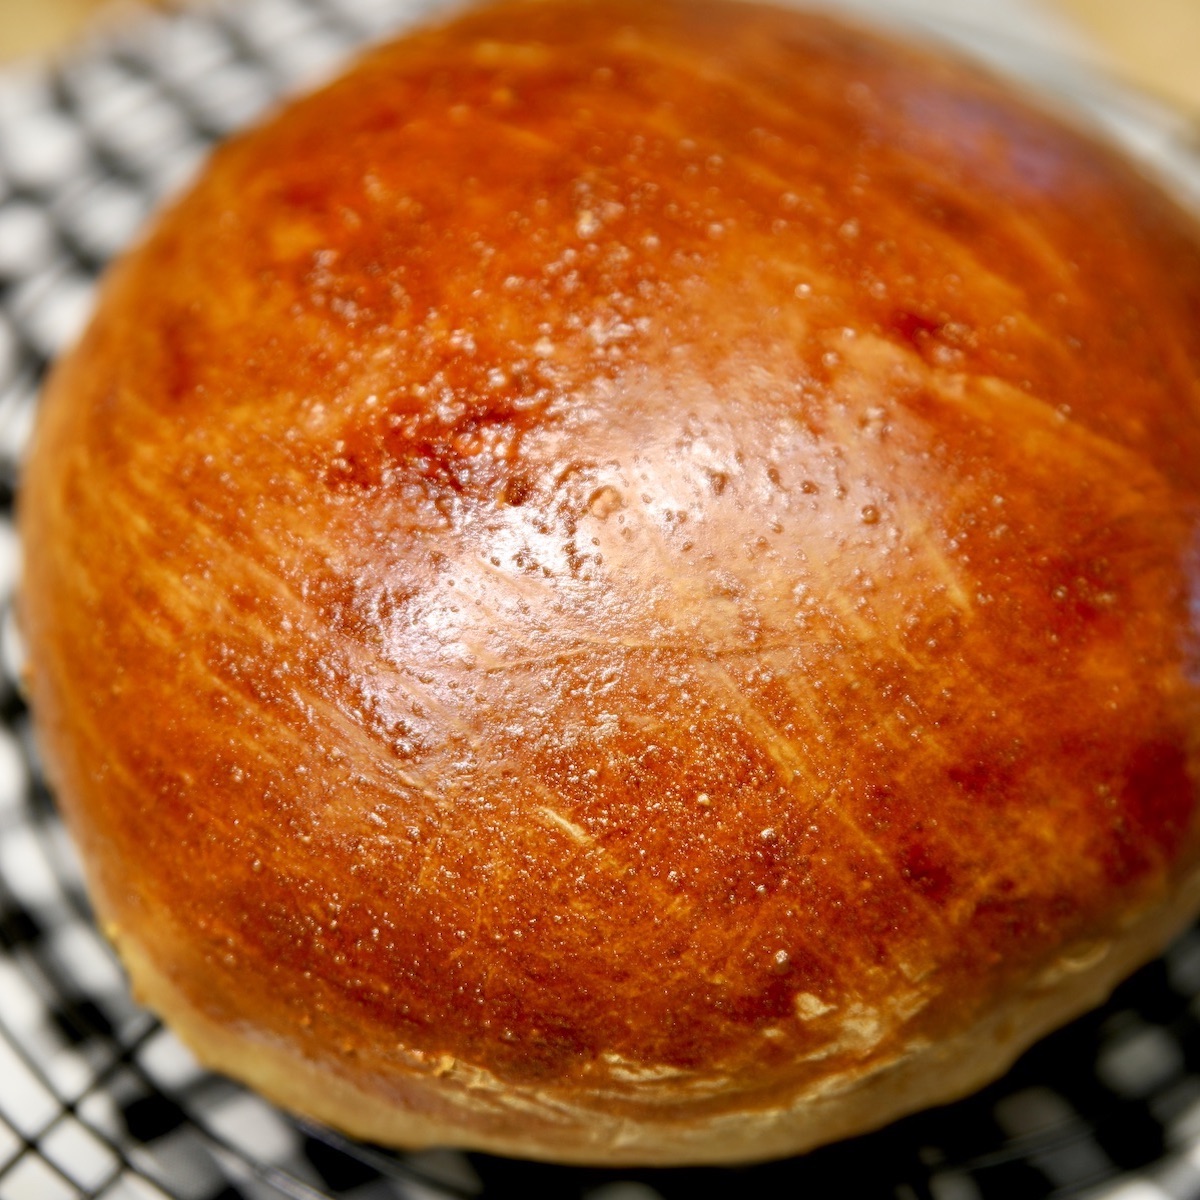
- Remove from pan to a wire rack to cool.

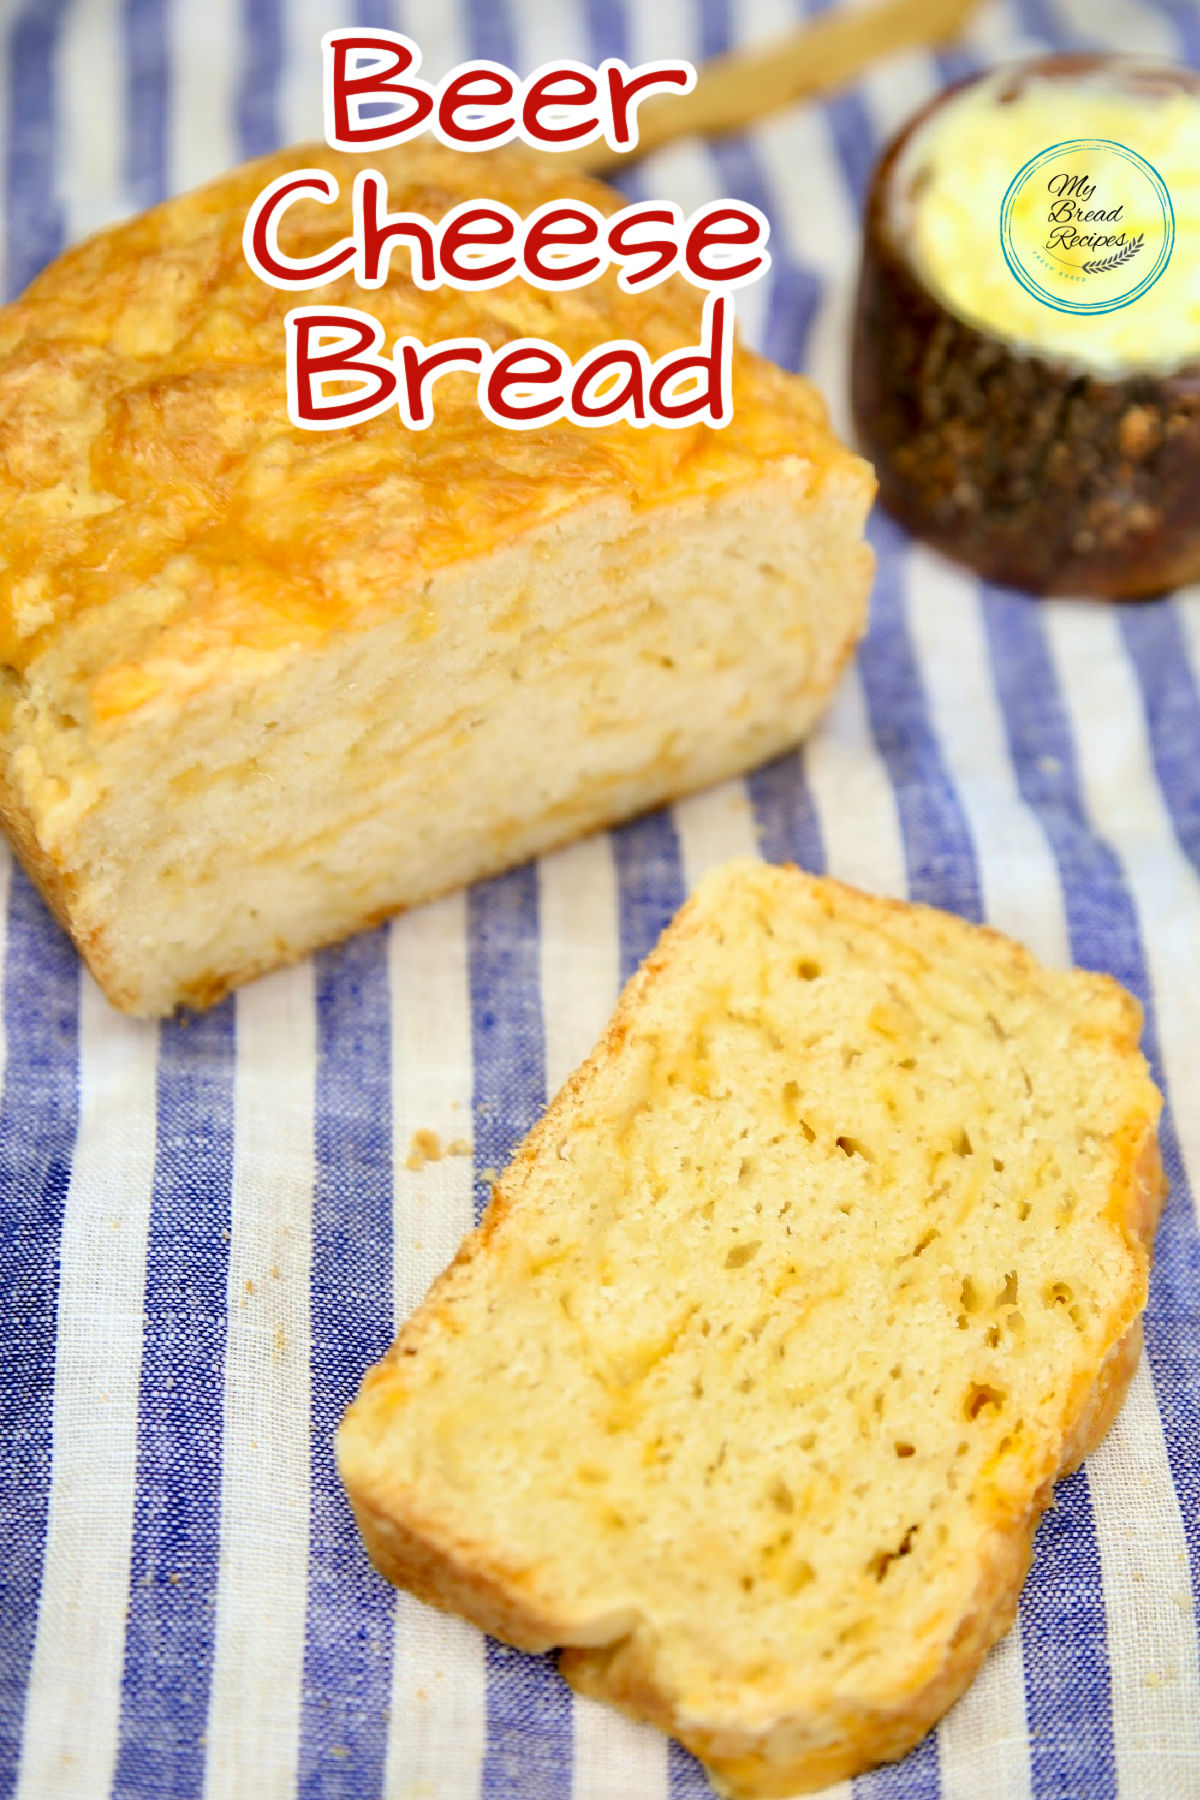
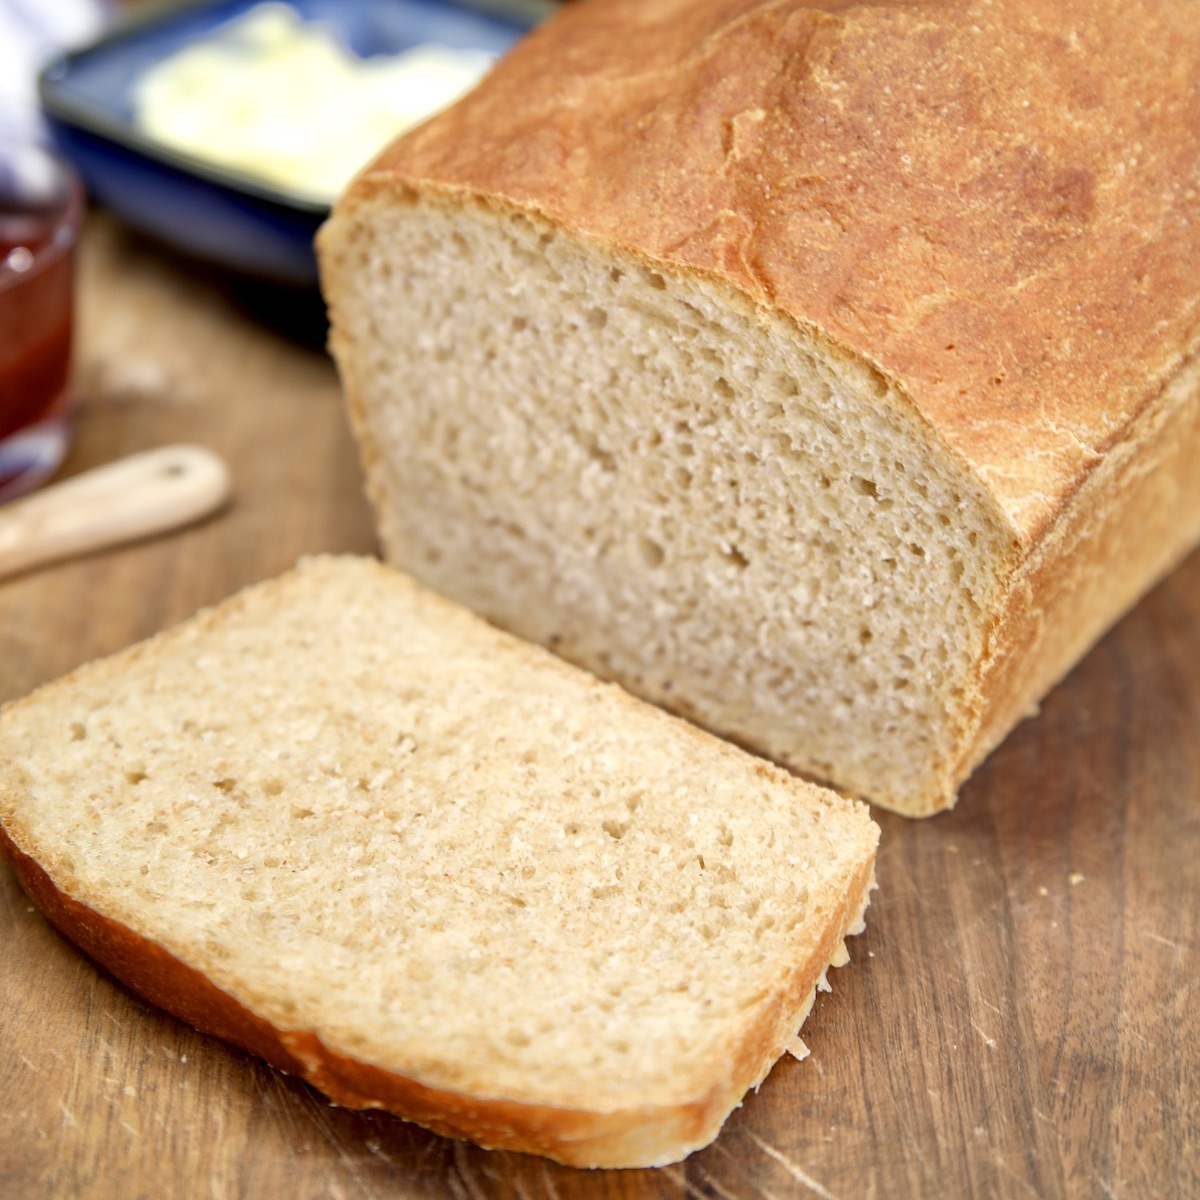
How to Serve Beer Bread
Beer bread can be sliced while warm or cooled to room temperature. Spread with butter and enjoy.
Storing Quick Bread
Store in a zip top bag or wrapped in plastic wrap at room temperature up to 3 days. Slice as needed for the bread to stay fresh.
What Kind of Beer is Best for Beer Bread
Lighter beers like lagers, ales and pilsners are perfect for beer bread recipes. Using a stout or porter will give the bread a darker color with a stronger beer flavor. Use your favorite brand or whatever you have on hand.

Make a loaf or two of this Beer Cheese Bread for dinner or have it on hand for the best morning toast or grilled cheese sandwiches!
If you love this recipe as much as we do, please leave a comment and a five star review. Be sure to help us share Pinterest, Facebook and Instagram.
Beer Cheese Bread
Ingredients
Method
- Preheat oven to 375°.
- Line a 9 x 5 inch loaf pan with parchment paper or grease lightly with butter or oil.
- Add flour, sugar, baking powder and garlic to a large bowl. Add 2 cups of shredded cheese and mix together.
- Stir in melted butter and beer, mixing just until combined.
- Pour into the prepare pan, spreading evenly.
- Top with remaining 1/4 cup of cheese.
- Bake for 45- 55 minutes until golden brown. Internal temperature will reach 200° and a toothpick inserted in the center will come out clean when bread is cooked through.
- Remove from oven to a wire rack to cool.
- Slice and serve warm or at room temperature.

4 Comments